Step 1 – Test video signal
- Turn off the engine and the power;
- Connect the backup camera with the connection cable (Insert connector A into connector B);
- Insert the AV/IN connector into AV/IN port of the main device;
- Ignite and start the car, observing whether the video receiving device can obtain the image from the backup camera.
If the image could be obtained, please proceed to Step 2 – Routing wires; if the image could not be obtained, please check whether the wiring is correct.
If the wiring is correct while the image still could not be obtained, please contact after-sales service personnel.
Step 2 – Routing wire
- Turn off the car engine and power.
- Insert the AV/IN connector into the AV/IN port of the main device, and then route the wire along the car body to the rear trunk lid.
- Disconnect the backup camera from the connection cable.
Step 3 – Installing the backup camera
- Place the backup camera in the intended installation surface. Remove the release liner on the back of the mount and stick the camera onto the surface.
- Drill two screw holes and one lead wire hole at the installation surface.
- Thread the lead wire through the lead wire hole and connect it to the connection cable.
- Secure the backup camera at the installation position using screws.
Notes:
- The installation and wiring methods may vary from the user manual for different vehicles. Please have the installation performed by a professional mechanist.
- Before installation and wiring, please turn off the car engine and switch off the car power to avoid short circuit during operation.
Step 4 – Adjusting the backup camera angle
- Remove the protective film on the surface of the backup camera.
- Adjust the angle of the backup camera up and down to ensure that it is parallel to the ground, as shown in the figures:
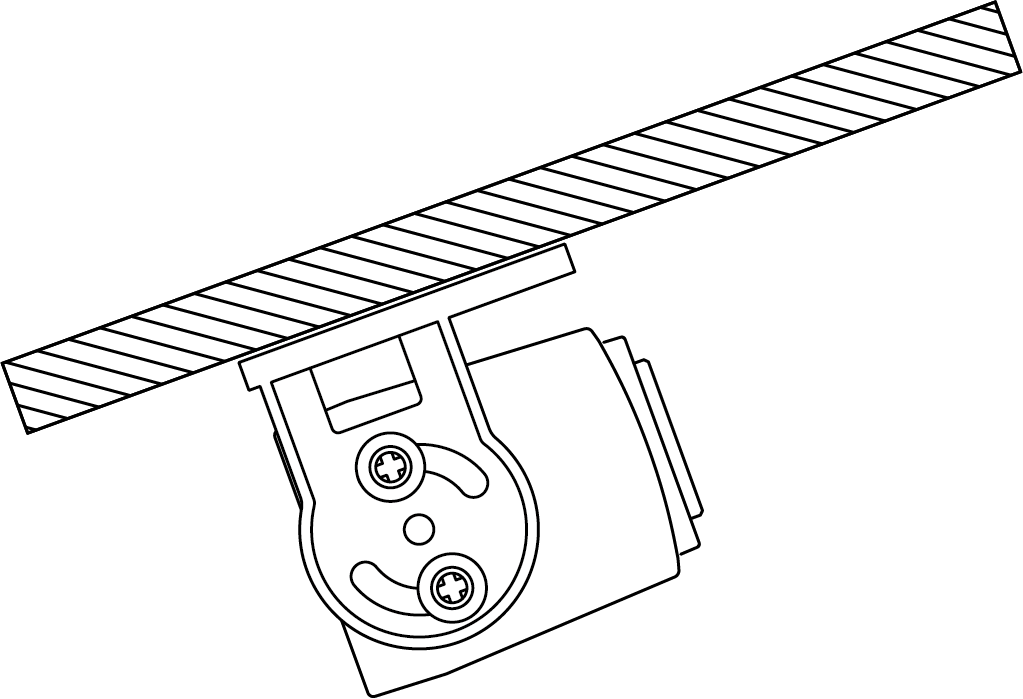
Before
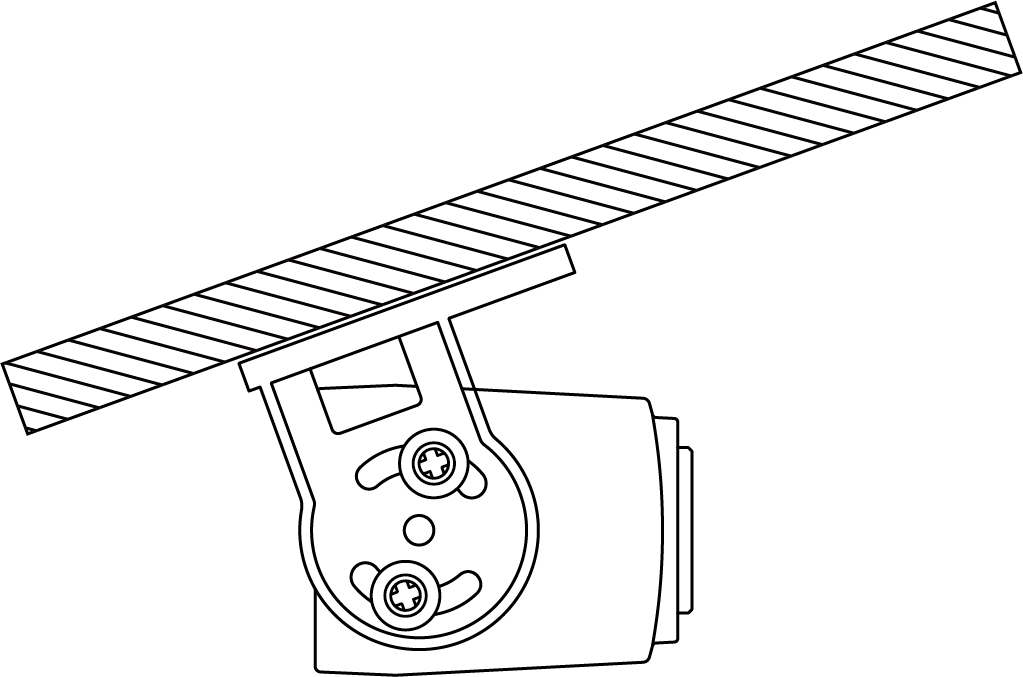
After