1. Installing the electrostatic sticker
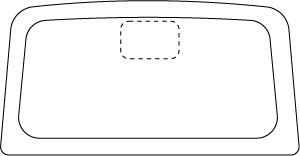
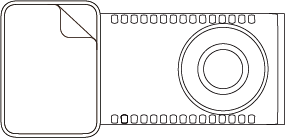
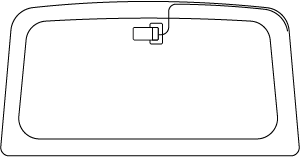
Clean your rear windshield and put the electrostatic sticker on the recommended upper area of the windshield, as shown in the figure. Press the sticker to remove air bubbles.
2. Installing the rear camera
Paste the rear camera onto the electrostatic sticker.
Notes:
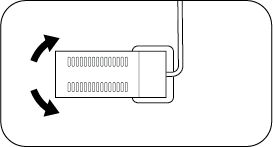
- The rear camera is pre-assembled on the mount. To remove the rear camera, rotate the camera body until icon
 aligns with icon
  on the mount, then pull it out.
 - To assemble, insert the camera into the mount and rotate it until icon
 is offset from the icon .
3. Connecting the power supply
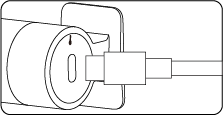
① Insert the rear camera connector into the power port of the rear camera.
② Run the connection cable along the top of the rear windshield, C-pillar, top of the side windows to the main device.
③ Insert the dash cam connector into the AV/IN port of the main device.
Note:
The installation and wiring methods for different vehicles may differ from what is described in the user manual. The installation shall be conducted by a professional installer.
4. Adjusting the camera angle
Turn on the main device and switch to rear camera view. Adjust the camera angle while checking the on-screen view. Ensure that the camera is facing the back of the vehicle.